If you’re using Divi, you can customize your 404 page. This is the page users get to see when they land on a non-existing page. You can set the page up yourself, or use a Poppyz layout for it. Choose the right option for you below.
Set up 404 page yourself
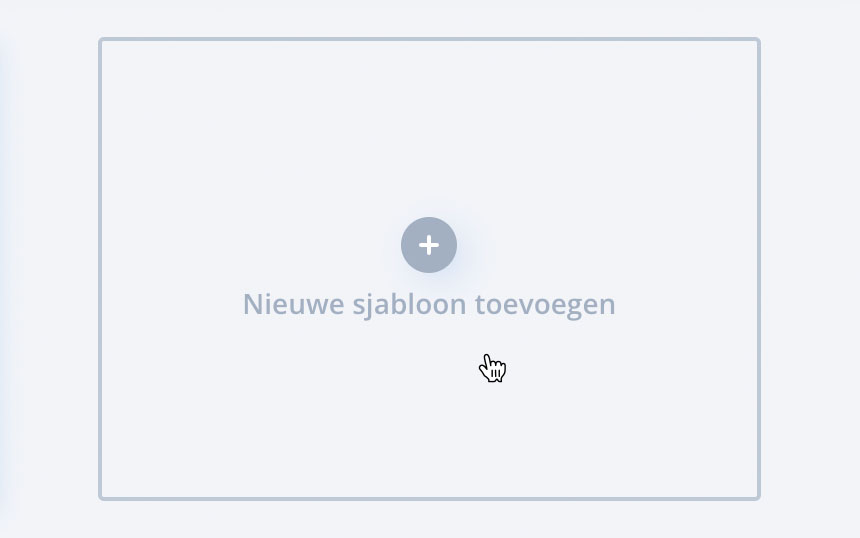
1. In WordPress, go to Divi > Theme Builder

2. Click on ‘Add new template’
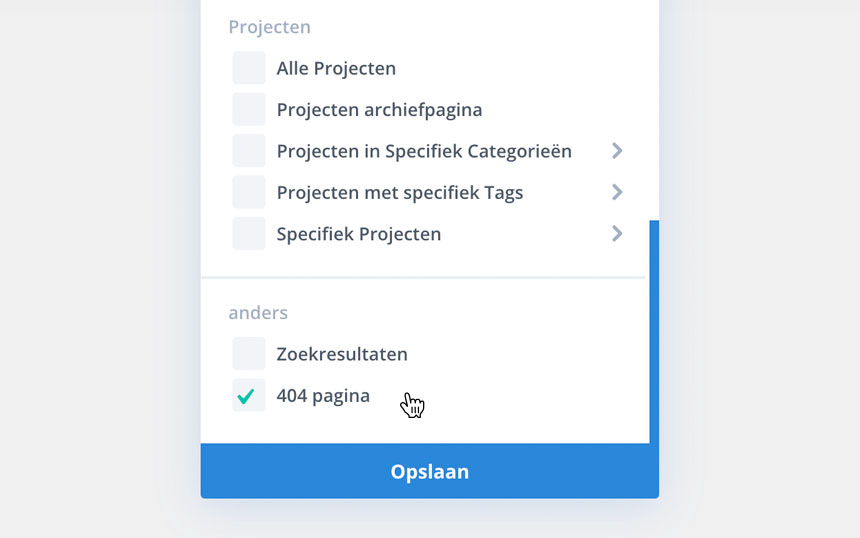
3. In the list that pops up, scroll down and select the ‘404 page’.
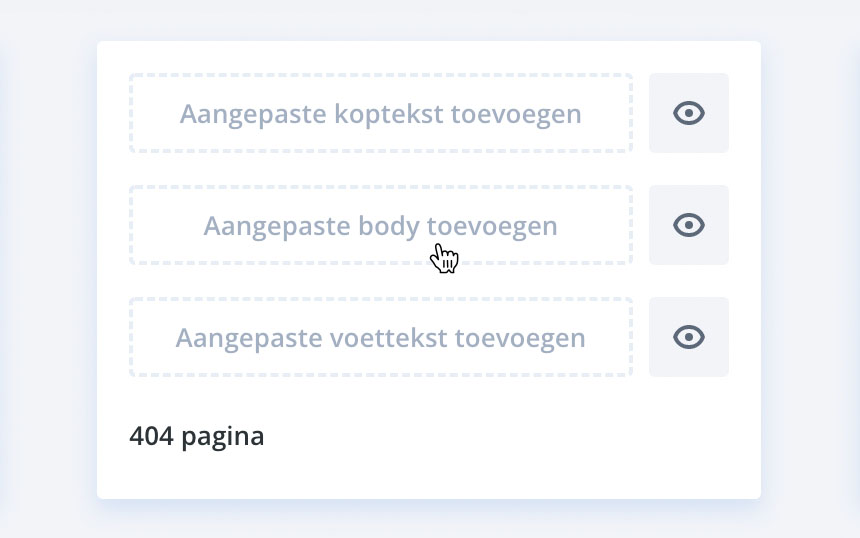
4. You can now choose to add a custom header, body and footer. Click on ‘Add custom body’
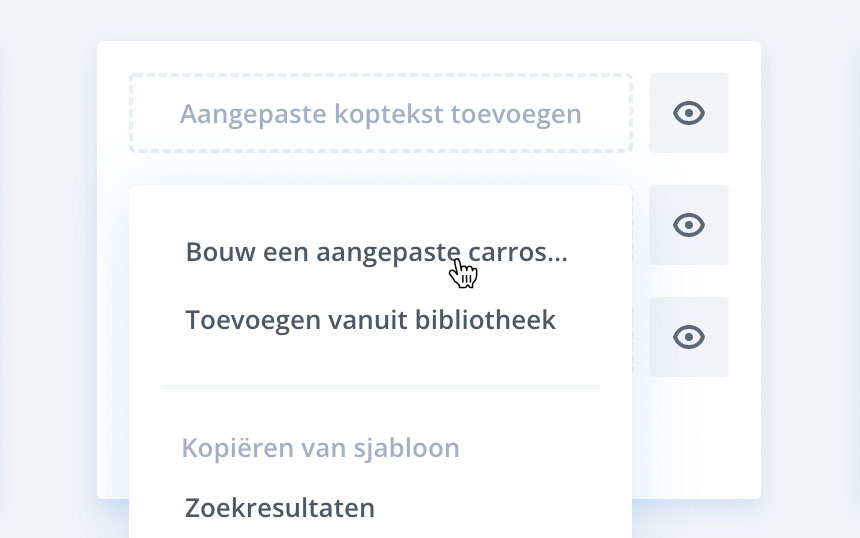
5. Choose the first option in the popup
6. A standard Divi builder will open where you can add content the way you’re used to with Divi
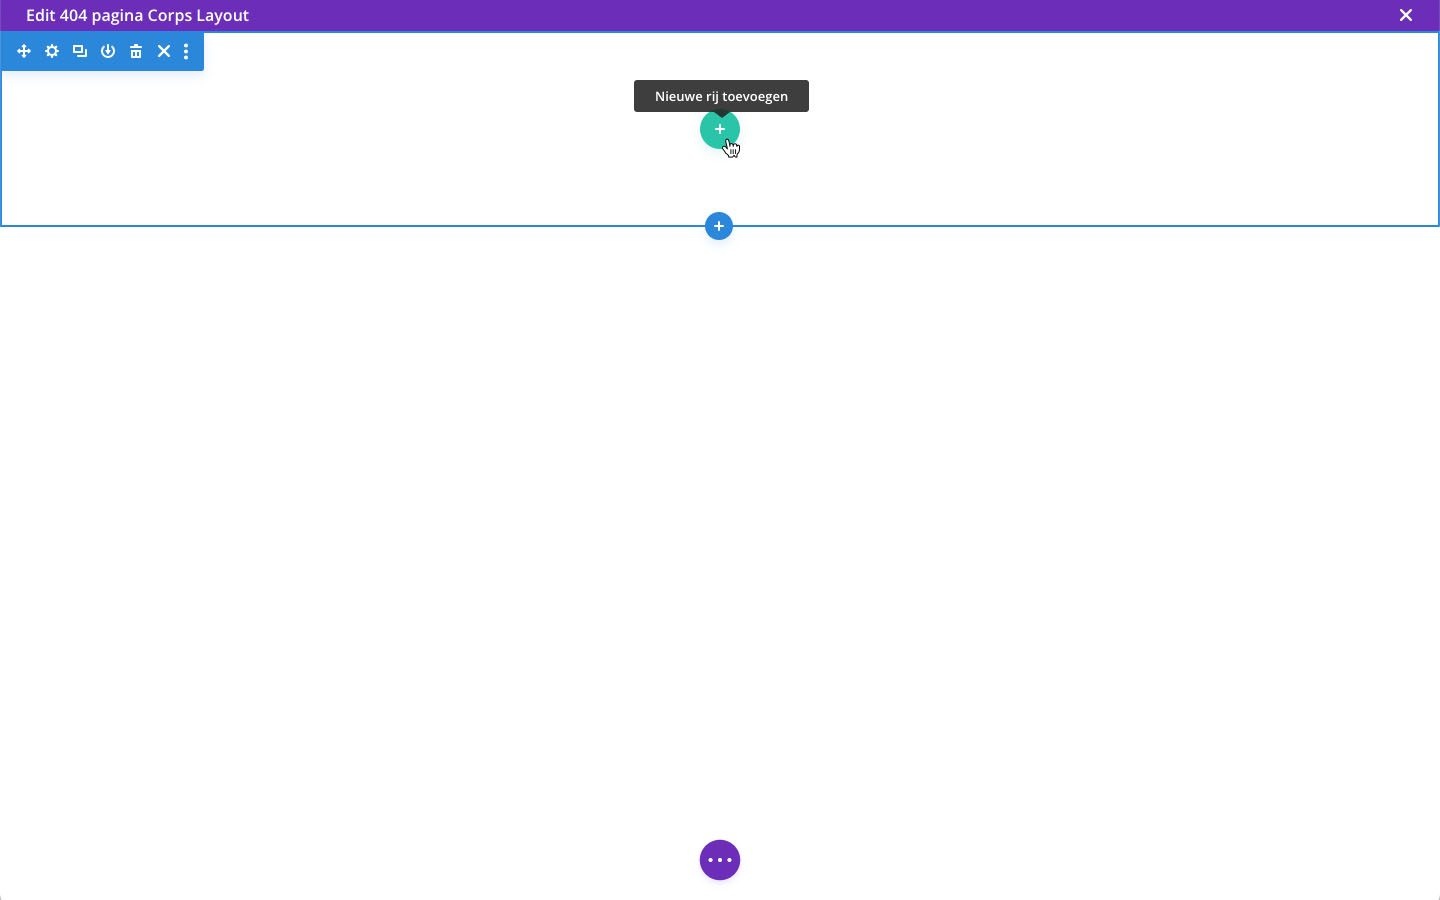
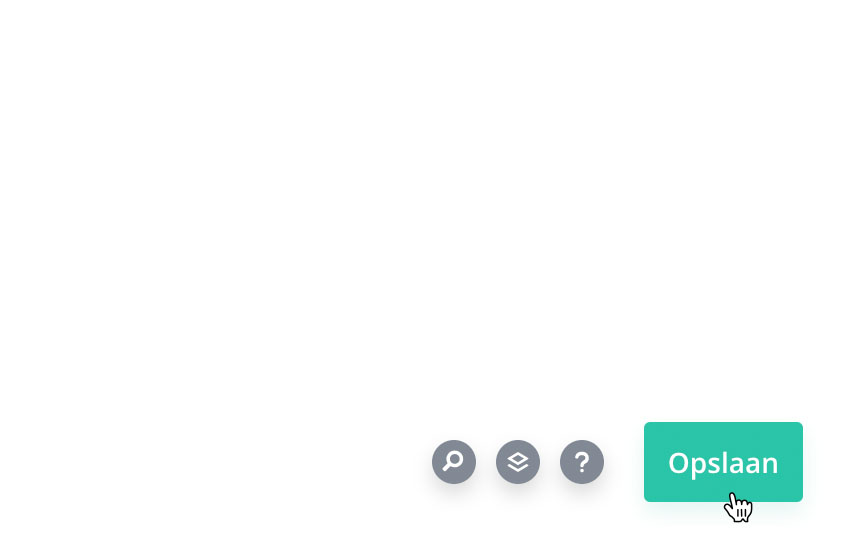
7. Click ‘Save’ when you’re done editing
8. Click the close button on the top right to close the builder

9. Finally, click ‘Save changes’ on the top left to save your new 404 page.

Also want to change the header and footer of your 404 page? Repeat step 4 through 9, but at step 4 select ‘Add custom header’ and/or ‘Add custom footer’.
Use 404 page Poppyz layout
Are you using the Poppyz layouts? Follow the step-by-step guide below to apply the 404 page layout. Note: the Poppyz layouts must be installed first, see Installing Poppyz layouts.
1. In WordPress, go to Divi > Theme Builder
2. Click on ‘Add new template’
3. In the list that pops up, scroll down and select the ‘404 page’
4. You can now choose to add a custom header, body and footer. Click on ‘Add custom body’
5. Choose the first option in the popup
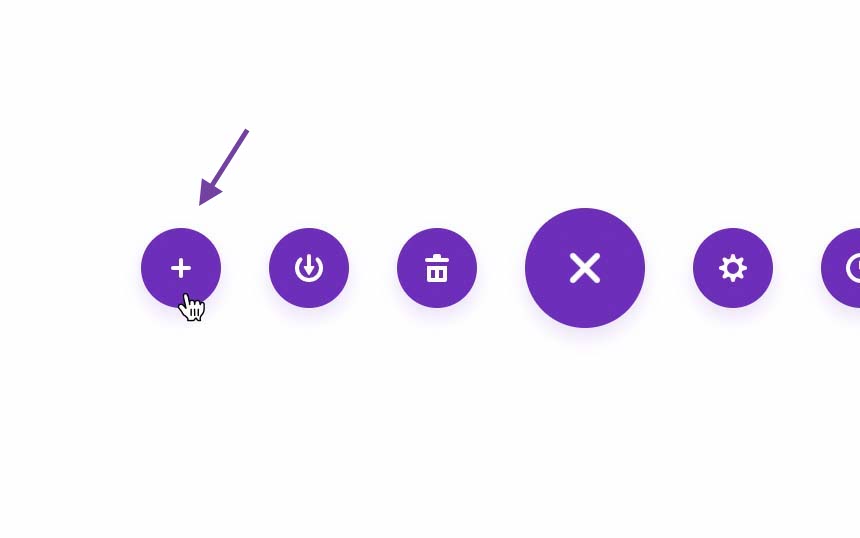
6. The standard Divi Builder has opened now. Click on the plus icon at the bottom of the page.
7. Go to the ‘Your saved layouts’ tab and select the layout for the 404 page. You can also search by layout name.
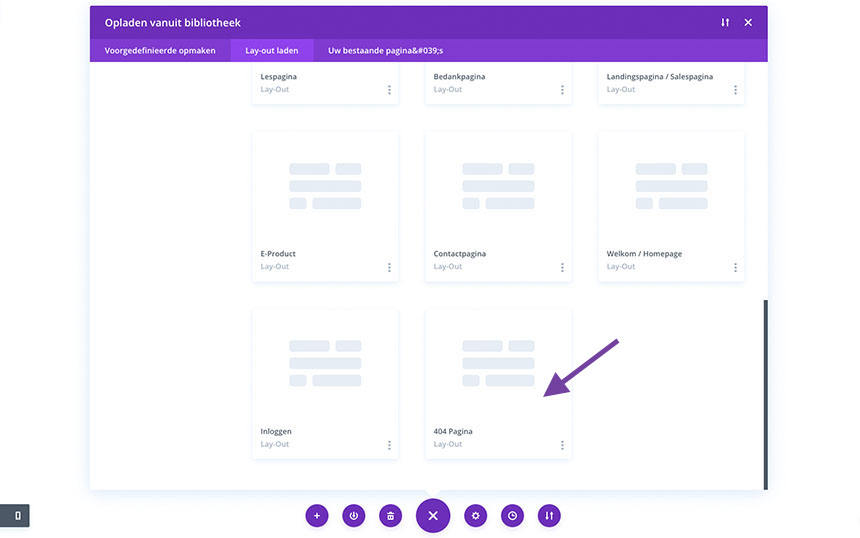
8. Click ‘Use this layout’ to load the layout onto the page

9. The layout is now loaded and you can change it to your liking. Click ‘Save’ when you’re done editing.
10. Click the close button on the top right to close the builder
11. Finally, click ‘Save changes’ on the top left to save your new 404 page.