- Tiers are used to create an instance of a course, which is what’s actually being subscribed to by users. Lessons could be different depending on the course’s Tier.
To make it simpler to understand, think of the Tiers as “levels” –
some levels can have access to all lessons of a course, and some can only have access to particular lessons at a given time.This might seem a bit complicated at the moment, but it becomes clearer when we start creating Tiers. - To create a Tier, visit the Edit Course screen and look for the Tier section below the Lessons section.
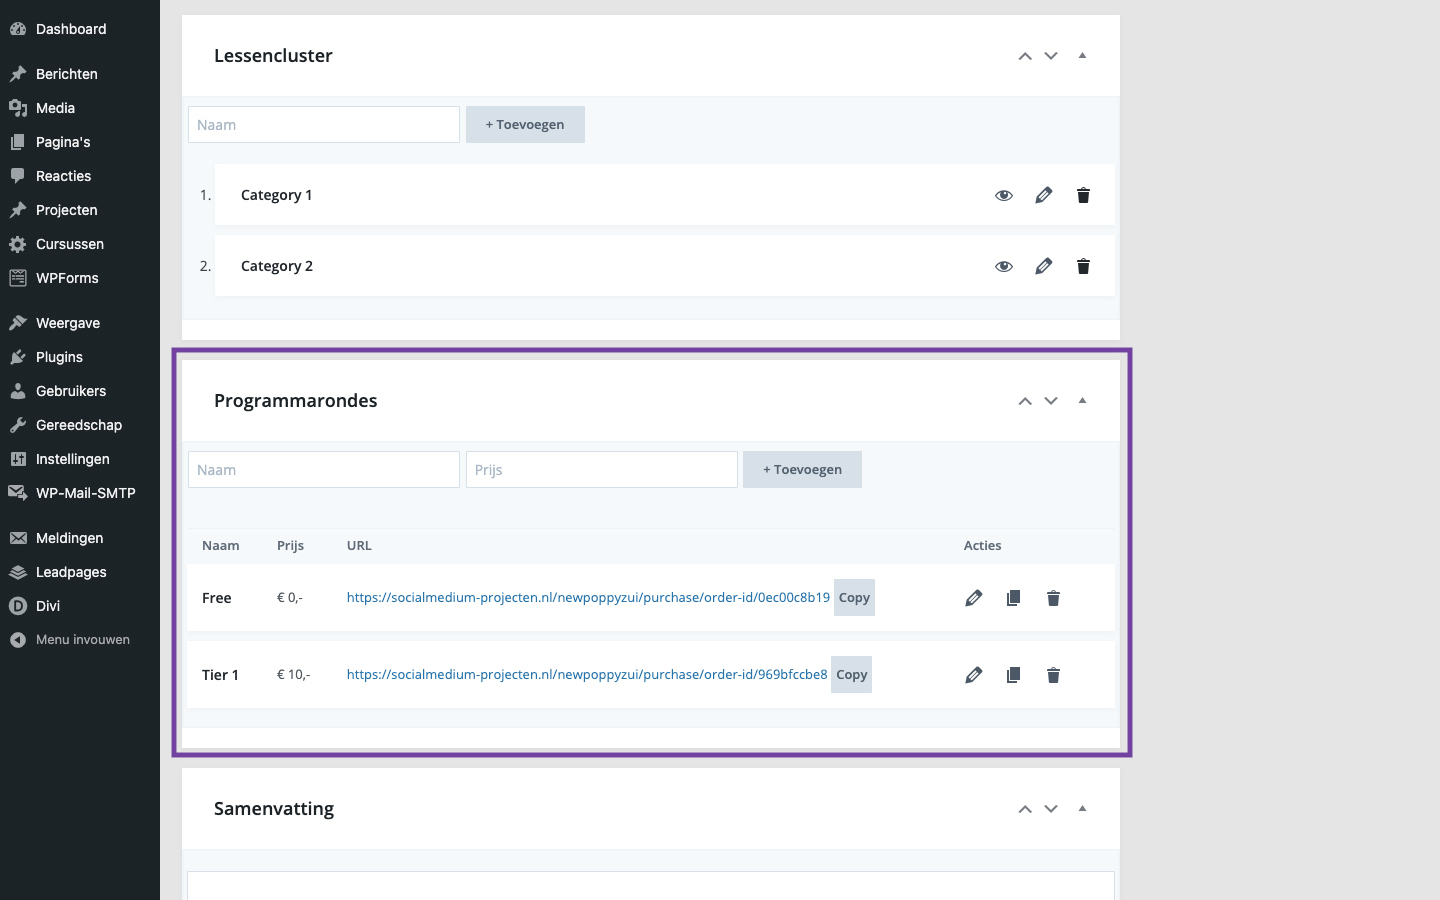
- Enter a name for the tier, input a price and click the Add New button. The new Tier will be displayed in the new row.
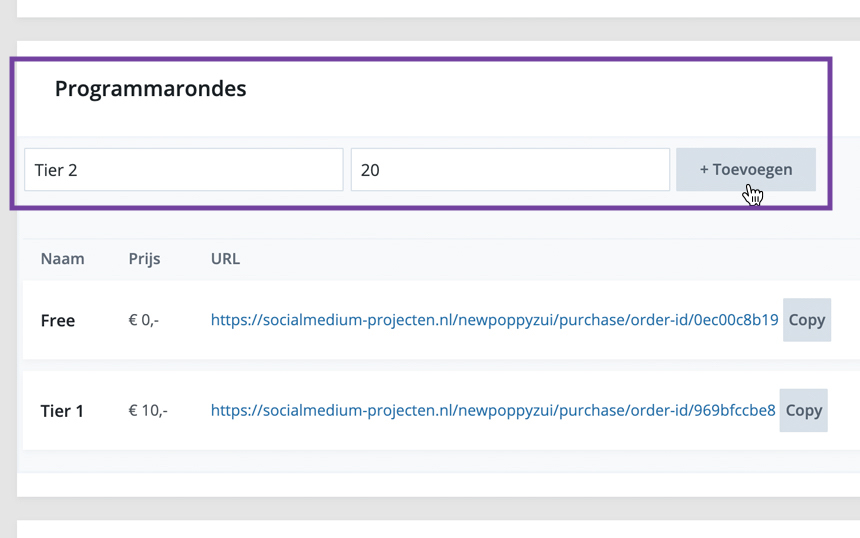 Note: To add Free Tiers, just set the tier price to 0.
 - Notice the URL column – this is a randomly generated URL which will be used for the user subscription. This link should be given to users to start their course subscription process.For now, click on the Edit link on the right side of the Tier to go to the Edit Tier screen.
- The Edit Tier screen consists of the following:
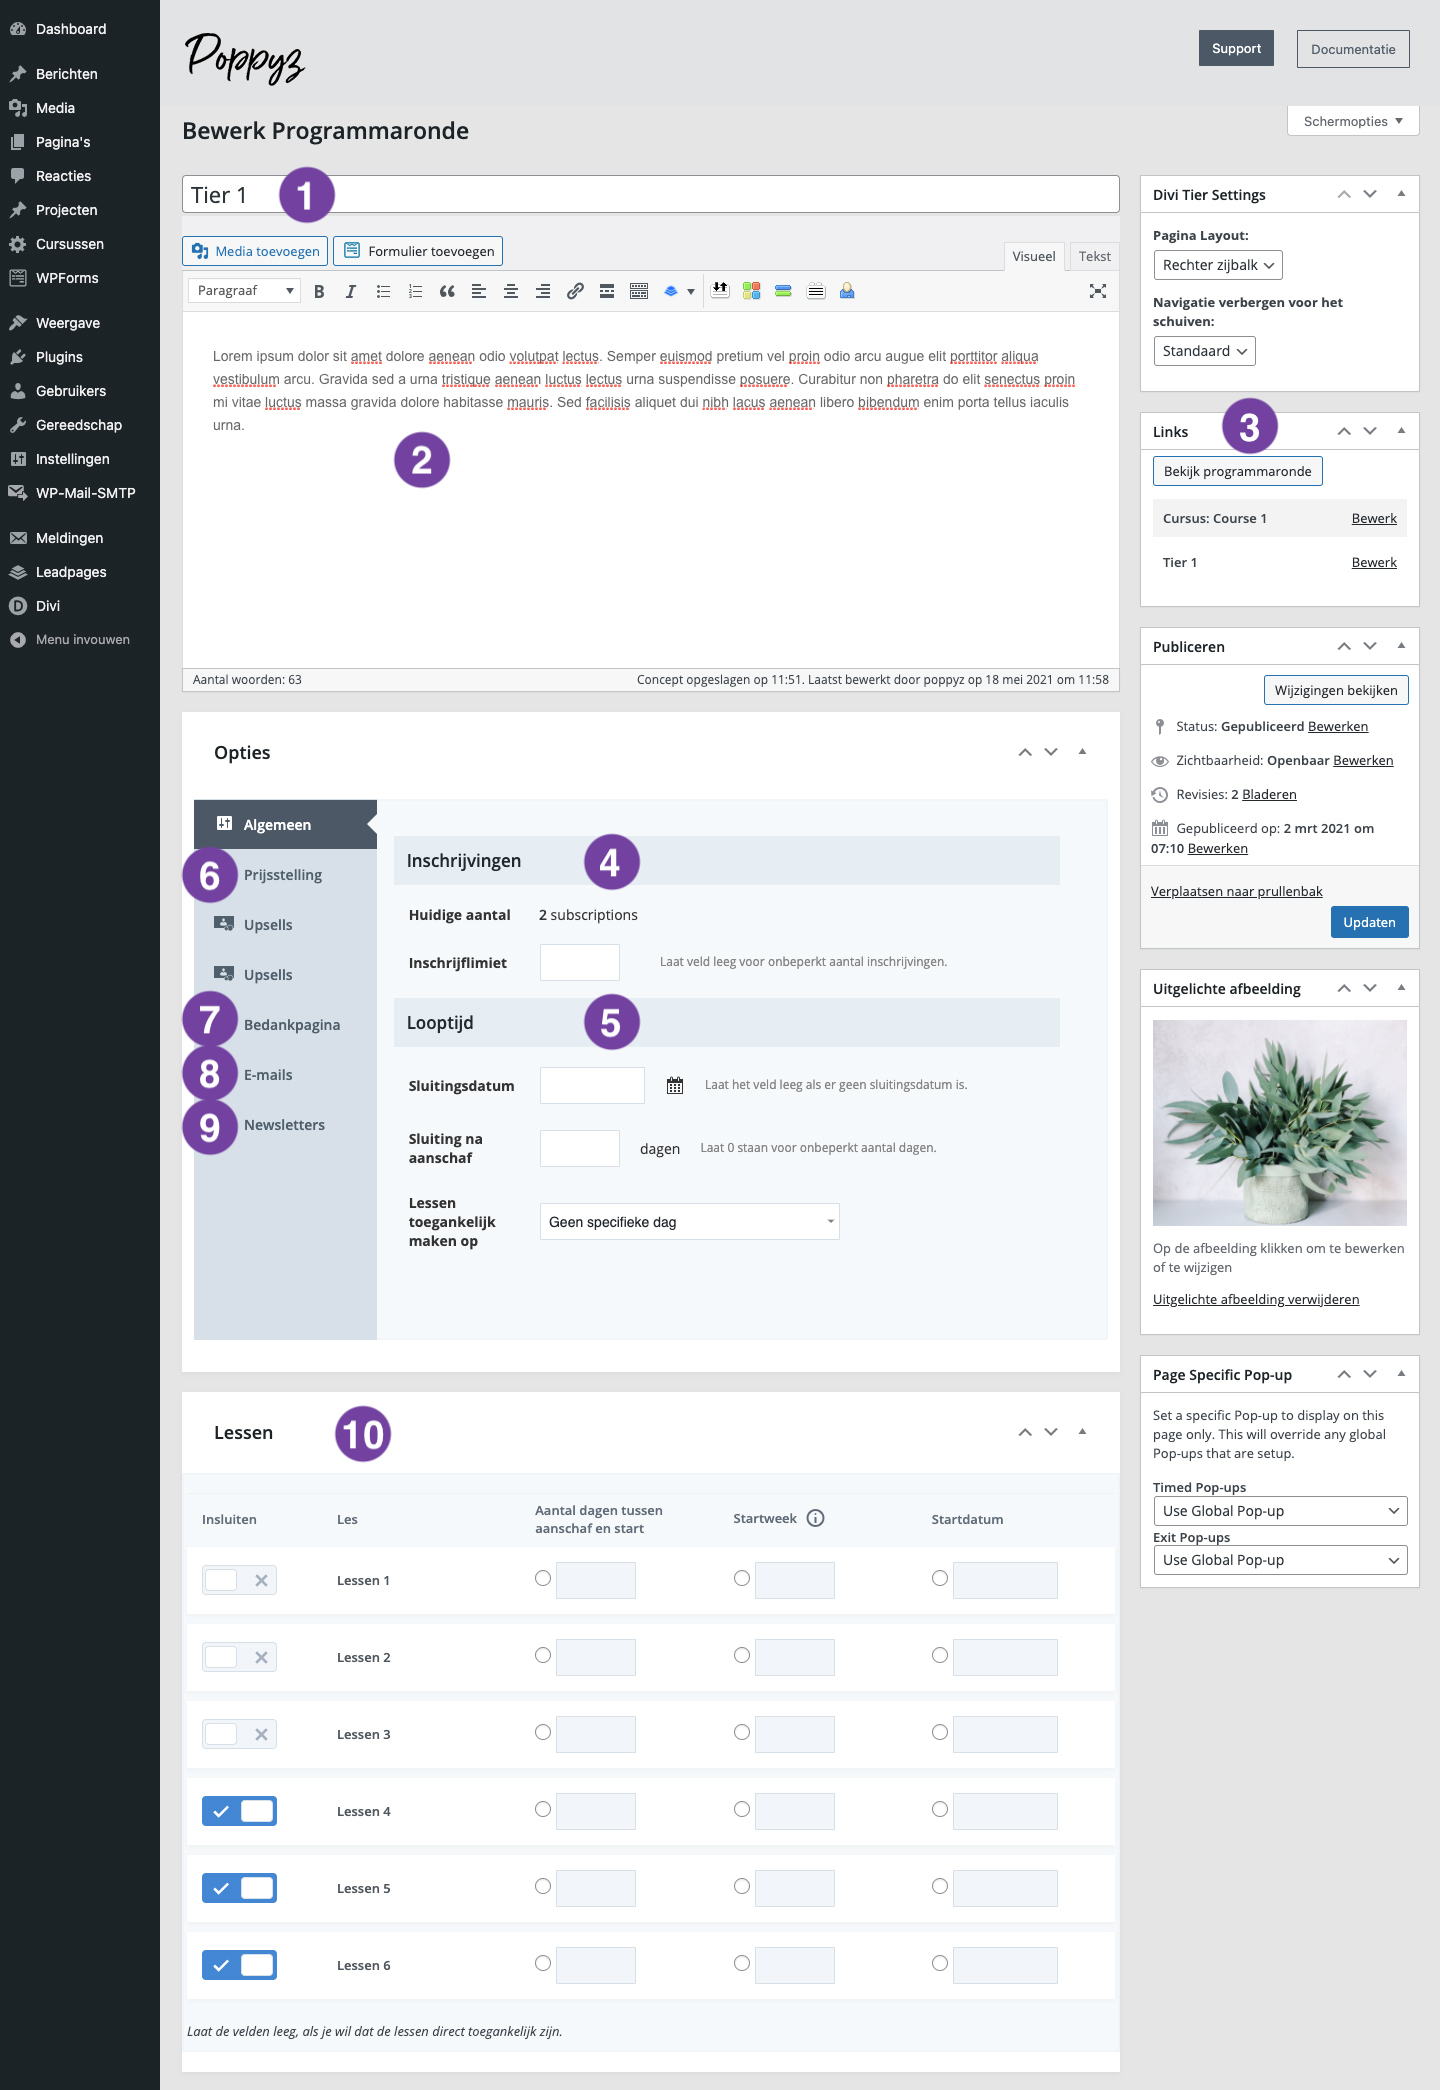
- Tier Title This will be used to identify the Tier
- Tier Content This appears in the Purchase page when visiting the Tier URL. It can be styled with HTML and CSS.
- Course and Tiers This section’s purpose is to make navigating between the course and tiers easier.
- Subscription Limit Where you can set the maximum number of subscriptions in the given tier. The tier will no longer be able to accept new subscriptions if it reaches this limit.
- Duration Controls the expiration of a tier and when it starts.
- Pricing This is the section where you can choose the Payment Method and Price of the tier. Read more about Payment methods and Payment options.
- Content after successful purchase When desired, you can add content for every tier. Leave this section empty if you would like to use the default text you’ve set on the on the email settings page.
- Email Messages The default email settings can be set on the Settings page. However if you want to have a different email message for a Tier you can use this section.
- Mailing Lists As mentioned on the Mailing List section of this tutorial, this part is where you assign a MailChimp list for the Tier. All users who subscribe to this tier will automatically be subscribed to the MailChimp list selected here. If nothing is selected then MailChimp subscription won’t take place. Same goes for the AWeber and ActiveCampaign list.
- Lessons This section is the core benefit of using Tiers. You can set which lessons to display in a given Tier by setting rules for each lesson.For example, if a user is subscribed to Course 1 with the Tier 1 tier, he can only access lessons that are allowed in this section.There are 4 rules (the 4 columns) for each lesson:
- Days to start after purchase – The lesson will appear when the number of days has been reached. For example if 5 is entered, the lesson will appear after 5 days.
- Start Week – The lesson will be be available when the number of weeks has been reached. For example if 1 is entered, the lessons will be accessible after 1 week. This works with the Days option found on the sidebar –
So if Tuesday is selected here and Start Week is set on 1 week, the lesson will be available on next week’s Tuesday. - Start date – It’s almost the same as the first two except the date is exact – so choose the date when you want the lesson to appear.
- Exclude – Do not display the lesson in this tier.