You can change the layout of the login page in different ways. You can do this by using the LoginPress plugin or by creating a new page and adding the Divi login module to this page. LoginPress is a plugin that allows you to easily make visual changes to the login page, but always retains a bit of the WordPress look and feel (in the free version). The Divi module is a bit less visual in editing, but allows you to give a complete custom styling to your login page. You can find documentation for both options below.
LoginPress plugin
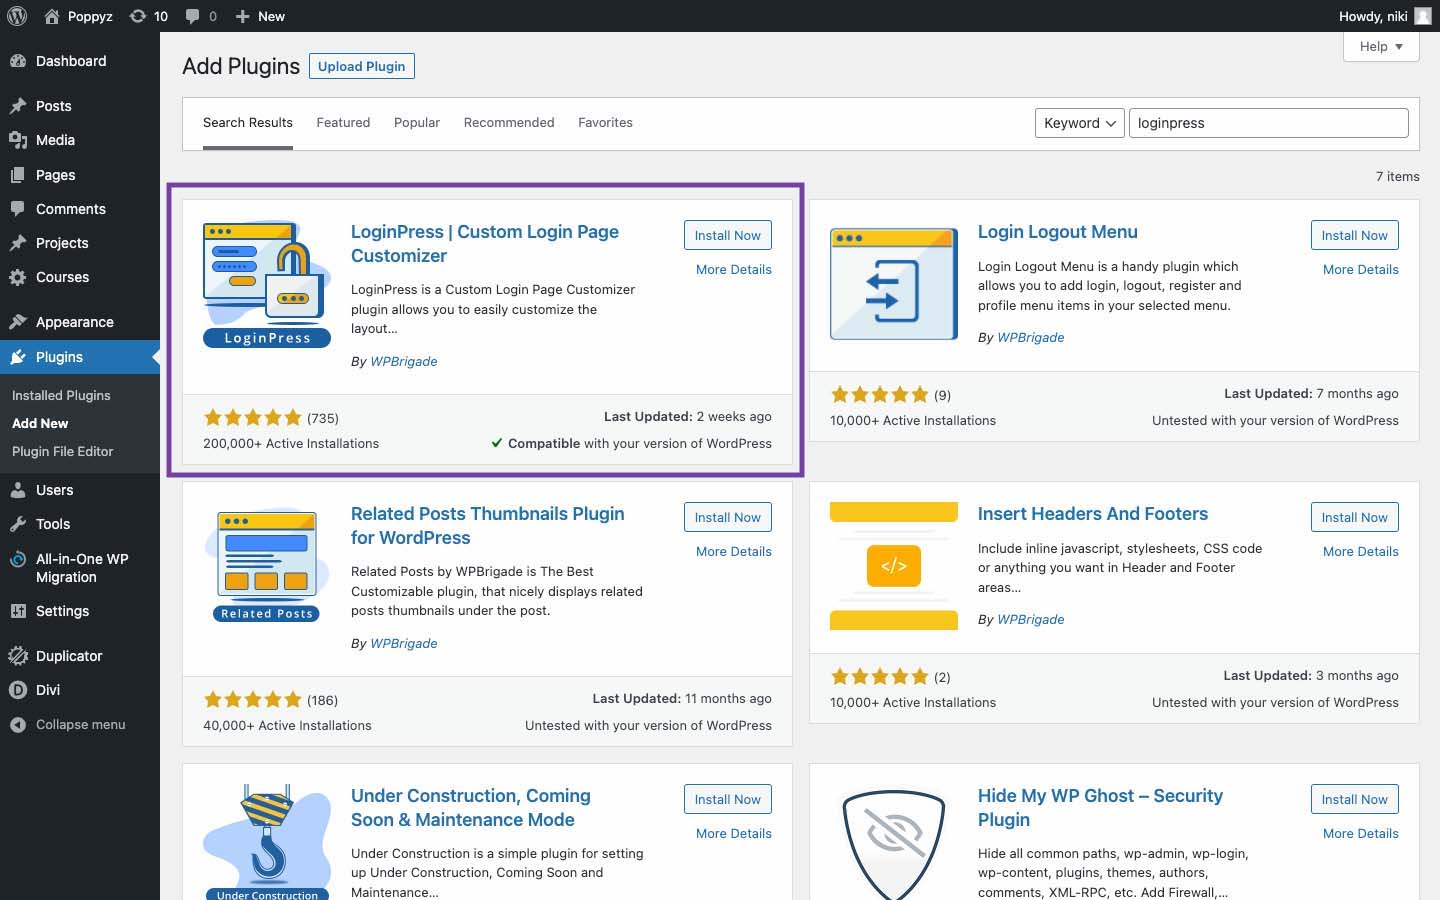
Plugin installeren
- In the WordPress menu, go to Plugins > Add new
- Type in ‘LoginPress’ in the search field
- Install and activate the plugin
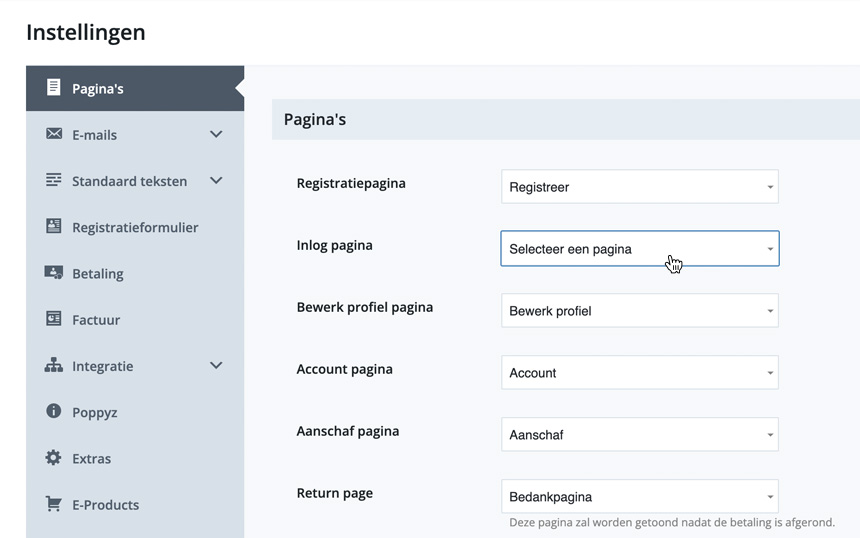
Set the right login page
- In the WordPress menu, go to Courses > Settings
- Set the login page to ‘Select a page’ so there’s no page selected
- Save your changes
Customize the login page
- In the WordPress menu, go to LoginPress > Customizer
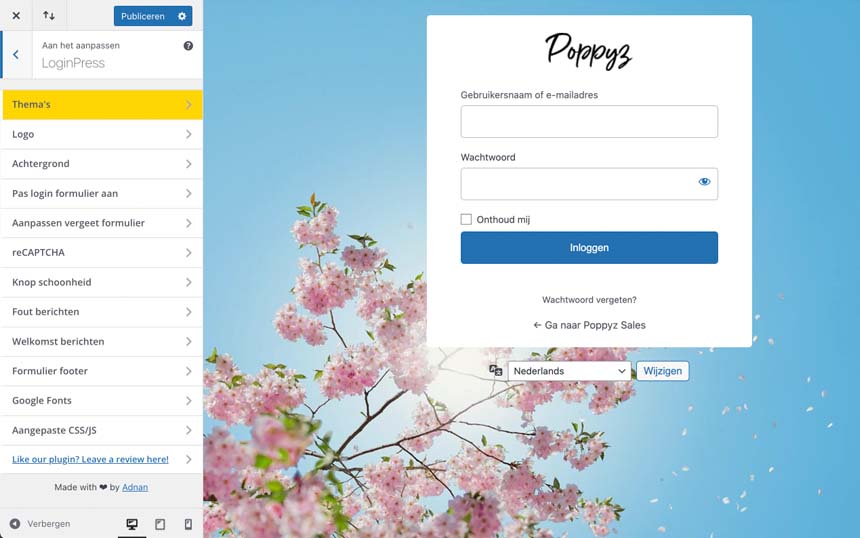
- With these customizer settings you are able to style a lot of elements for the login page. Below you can find which settings are available in the free version of the plugin.
- Themes: here you can select a theme. The free version of the plugin comes with one theme: Default.
- Logo: upload your own logo here and set the right sizes for it.
- Background: here you can select a different background image, or choose to use a background color instead. You can also change the position and size of a background image here.
- Customize login form: you can choose to change the color and size of the form and its fields here
- Customize forget form: here you can change the background of the form you see when you click the ‘forgot password’ link
- Button beauty: you can customize all settings for the ‘Login’ button
- Error messages: you can edit the error messages here
- Welcome messages: you can edit some standard welcome messages here
- Form footer: at this section you can change the settings for the part of the form underneath the ‘Login’ button.
LoginPress shows a ‘Powered by LoginPress’ line at the bottom of the login page by default. You can remove this line bij deselecting the toggle next to ‘Show some love…’.
- When you’re done editing, click the ‘Publish’ button.
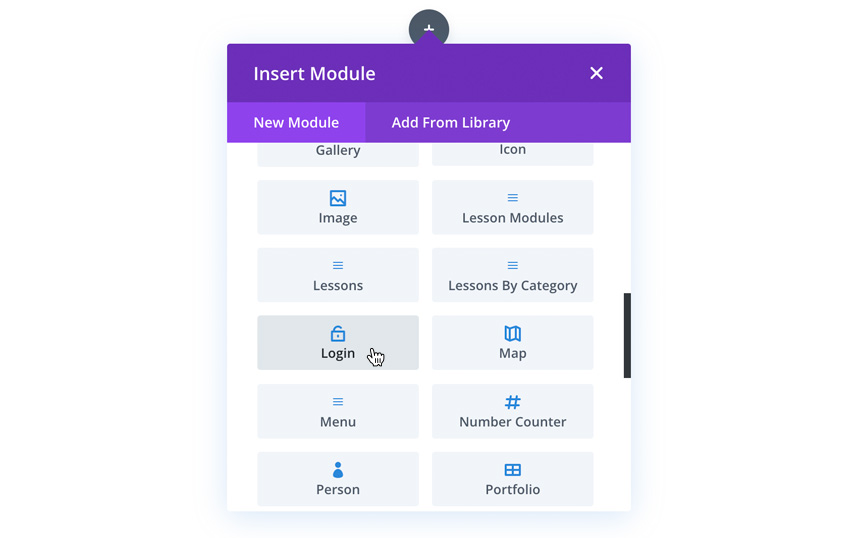
Divi login module
- Click on the grey plus icon and choose the ‘Login’ module.
- After you’ve added the module, the settings will open. This is where you can edit the content and design of the module.
Customize content
You can edit the title and text of the module under the ‘content’ tab. You will find the following options:
- Title
Edit the title of the module here. - Body
Change the text underneath the title here, or leave this field empty if you don’t wish to show text here.

Customize design
You can also customize the design of the module. You will mostly find these options under the design tab. Below you’ll find more information on the available settings.
- Background color
Content > Background: you can choose a background color or gradient here.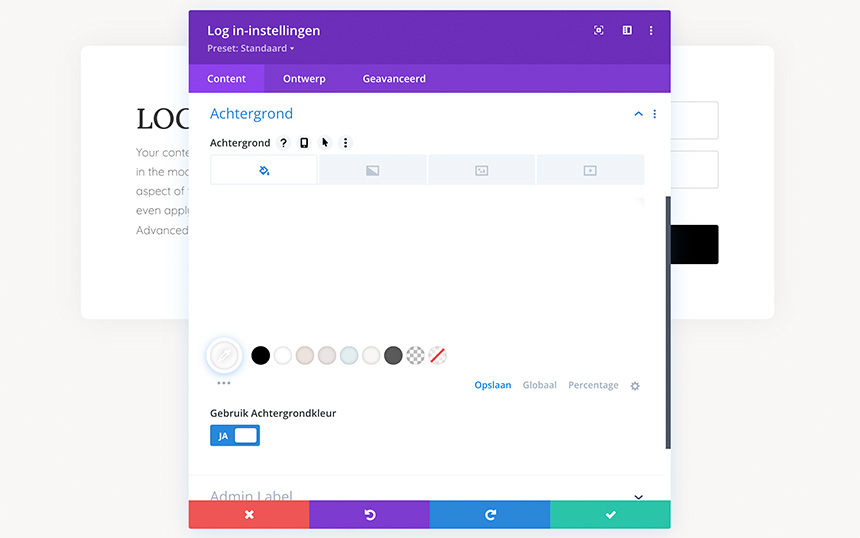
- Fields
Design > Fields: this is where you can change the colors, white space and font for the username and password fields. You’ll find separate colors for ‘focus’ here which are the colors that will be used for the fields when someone clicks them.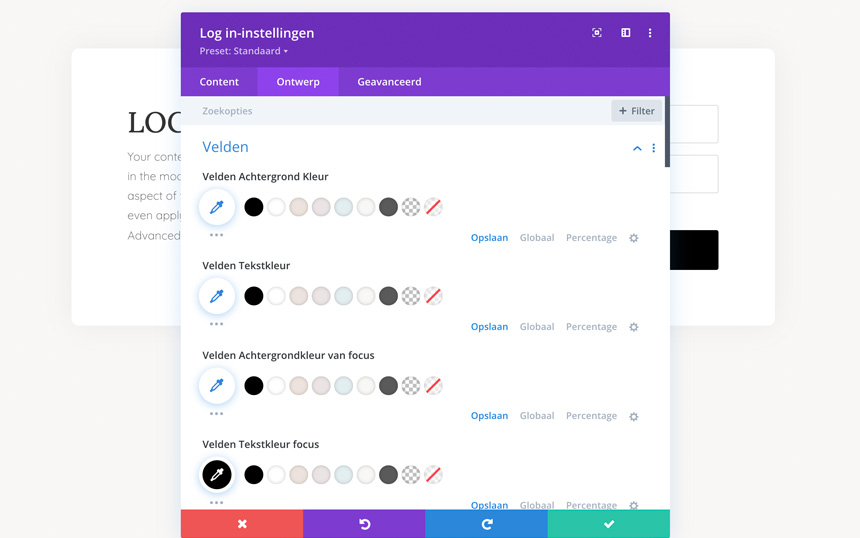
- Title
Design > Title text: you can change the size, color and font for the title here.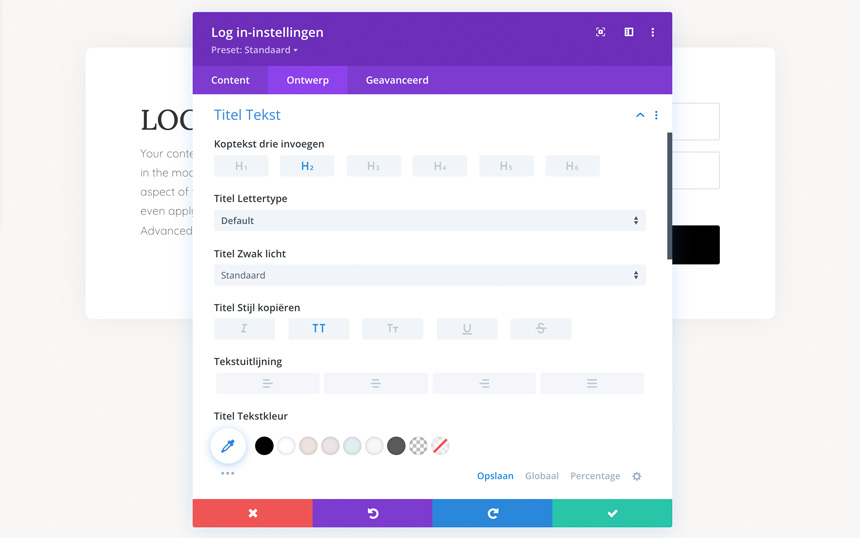
- Body text
Design > Body text: here you can change the size, color and font for the text underneath the title.
- Button
Design > Button: the button automatically uses the default styling. You can however use different styling here by clicking the switch next to ‘Use custom styles for button’ and change the button settings here.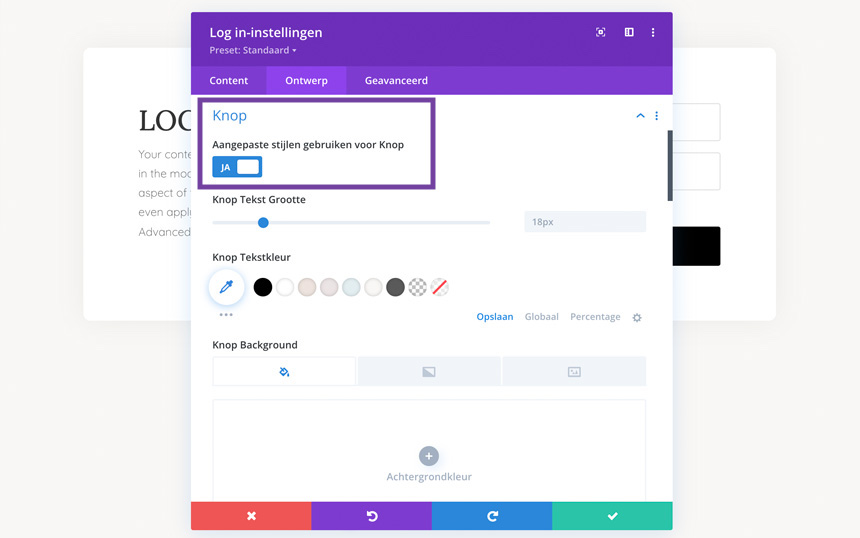
- Sizing
Design > Sizing: you can edit the size of the module here. Keep in mind that this will look different on desktop, tablet and mobile screen sizes. You can therefore set a separate styling for each of those screen sizes (see the screenshot below).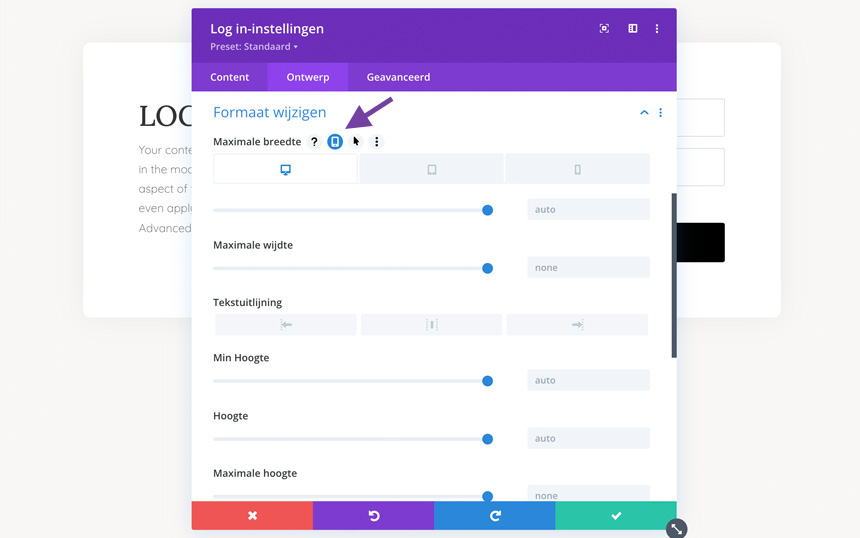
- Spacing
Design > Spacing: here you can change the white space around the module (margin) and within the module (padding). Also consider the effect on the different screen sizes here.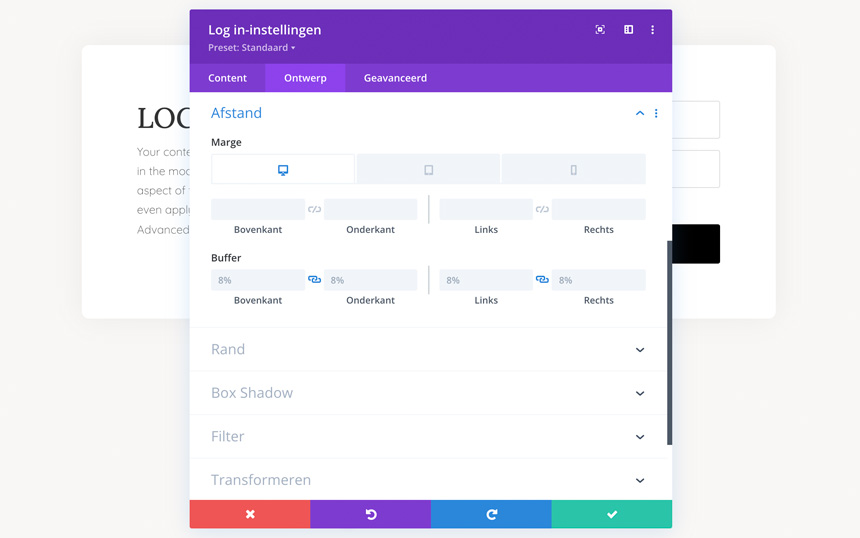
- Border
Design > Border: you can change the settings for the border around the module here.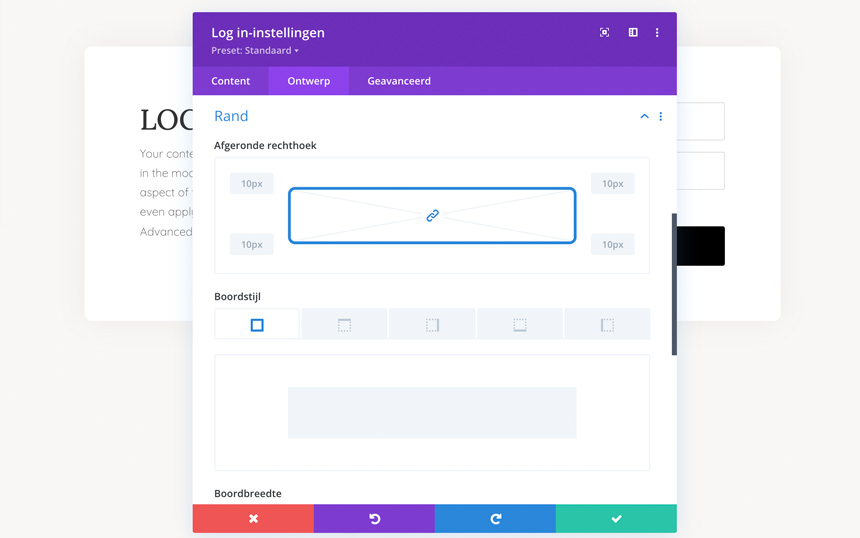
- Box shadow
Design > Box shadow: if you would like a shadow underneath the module, you can customize it here.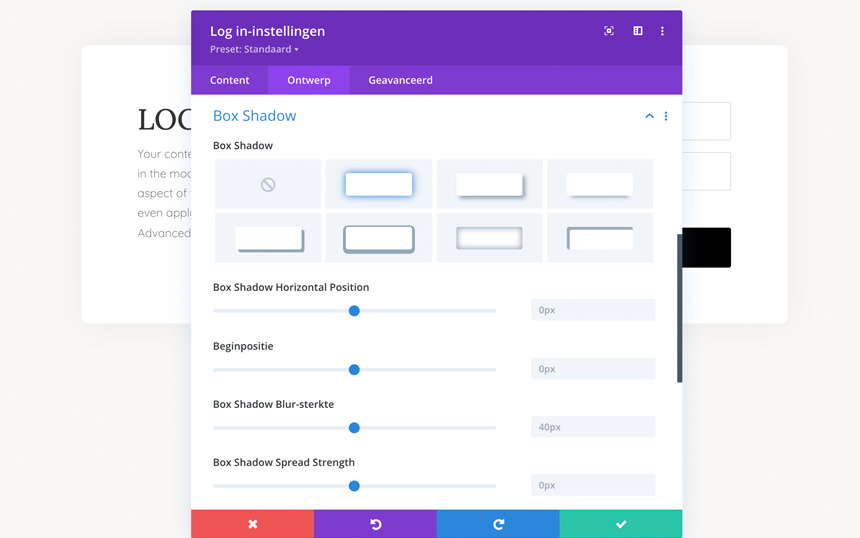
Implement the login page
- Add the page to the right menu.
- WordPress still uses the page you’ve selected at the Poppyz settings. Make sure you deselect this page, so no page is selected in these settings (see screenshot below). Otherwise there will be a conflict.